Showing posts with label 1809. Show all posts

Tuesday, 17 April 2012

Teugen-Hausen Scenario OOB

Some people have asked for the OOB from my battle report.
After rereading John Gill's account in "Thunder on the Danube" and the play through of the scenario from "Battles for Empire", Arnold & Reinersten, Napoleon Books, and not to forget my own errors I am posting a different, but I believe better, OOB than the one used for my battle report. 
Map changes: Reorientate the map so that Teugen is considered north and Hausen south. You can double the amount of western woods.

Austrian OOB

CinC III Corps FML Hohenzollern
Set Up:
Brigade: Kayser
IR#56 x 3 Line Battalions, IR#7 x 3 Line Battalions, one 6pndr Battery, one 2nd Rate Small Skirmisher group, one Hussar Sqdn x 1 Tiny Elite light cavalry.
Turn 4
Brigade: Pfanzelter
Grenz#9 x 2 Light Battalions, Erzherzog Karl Legion Jager x 2 Rifle armed small skirmisher groups, one 3pndr Battery
Turn 9
Brigade: Liechtenstein.
IR#12 x 3 Line Battalions
Turn 10
(part of Brigade Liechtenstein)
IR#23 x 2 Line Battalions, one 6 pndr Battery 
Turn 12
Brigade: Von Bieber
IR#20 x 3 Line battalions, 6pndr Battery, one 2nd Rate Small Skirmisher group
Turn 13
(Part of Brigade Von Bieber)
IR#38 x 3 Line Battalions
All appear from south. Pfanzelter south west.

French OOB

CinC III Corps Marshal Davout
Set Up
Brigade: Lorencez
3rd Ligne x 3 Line Battalions, one small skirmisher group
Turn 3
57th Ligne x 3 veteran Line Battalions,one small skirmisher group ( east )
Turn 6
10th Leger x 3 Veteran Light Battalions,one small skirmisher group, one 4pndr Horse battery (north)
Turn 8
Brigade: Destabenrath
72nd Ligne x 3 Line Battalions, one small skirmisher group( east )
Turn 9
105th Ligne x 3 Line Battalions,one small skirmisher group( east )
Turn 10
Brigade: Petit
2 x line Battalions, 3 x small skirmisher groups( east )
Turn 11
2 x 8 pndr Batteries and one 4 pndr Horse battery ( east )
Turn 12
Brigade: Grandeau
48th Ligne x 3 Line Battalions ( east )
Troops arriving (north) appear next to Teugen. Those ( east ) appear on road from north east of table.


Tuegen-Hausen, 19th April, 1809

Historical background.
Davouts III Corps is isolated and attempting to rejoin the rest of the French army. His troops are intercepted on the march by the Corps of FML Hohenzollern of the Main Austrian army. Nearby was the Austrian Army Commander Archduke Charles. Unfortunately he didn't seem to take any action to reinforce Hohenzollern until after the battle was lost.
Overview with the French held Teugen at the top and Hausen held by Austria at the bottom. The table is running west to east with woods on the southern and northern flanks.

The French 3rd Ligne with 3 battalions and Marshall Davout commanding.
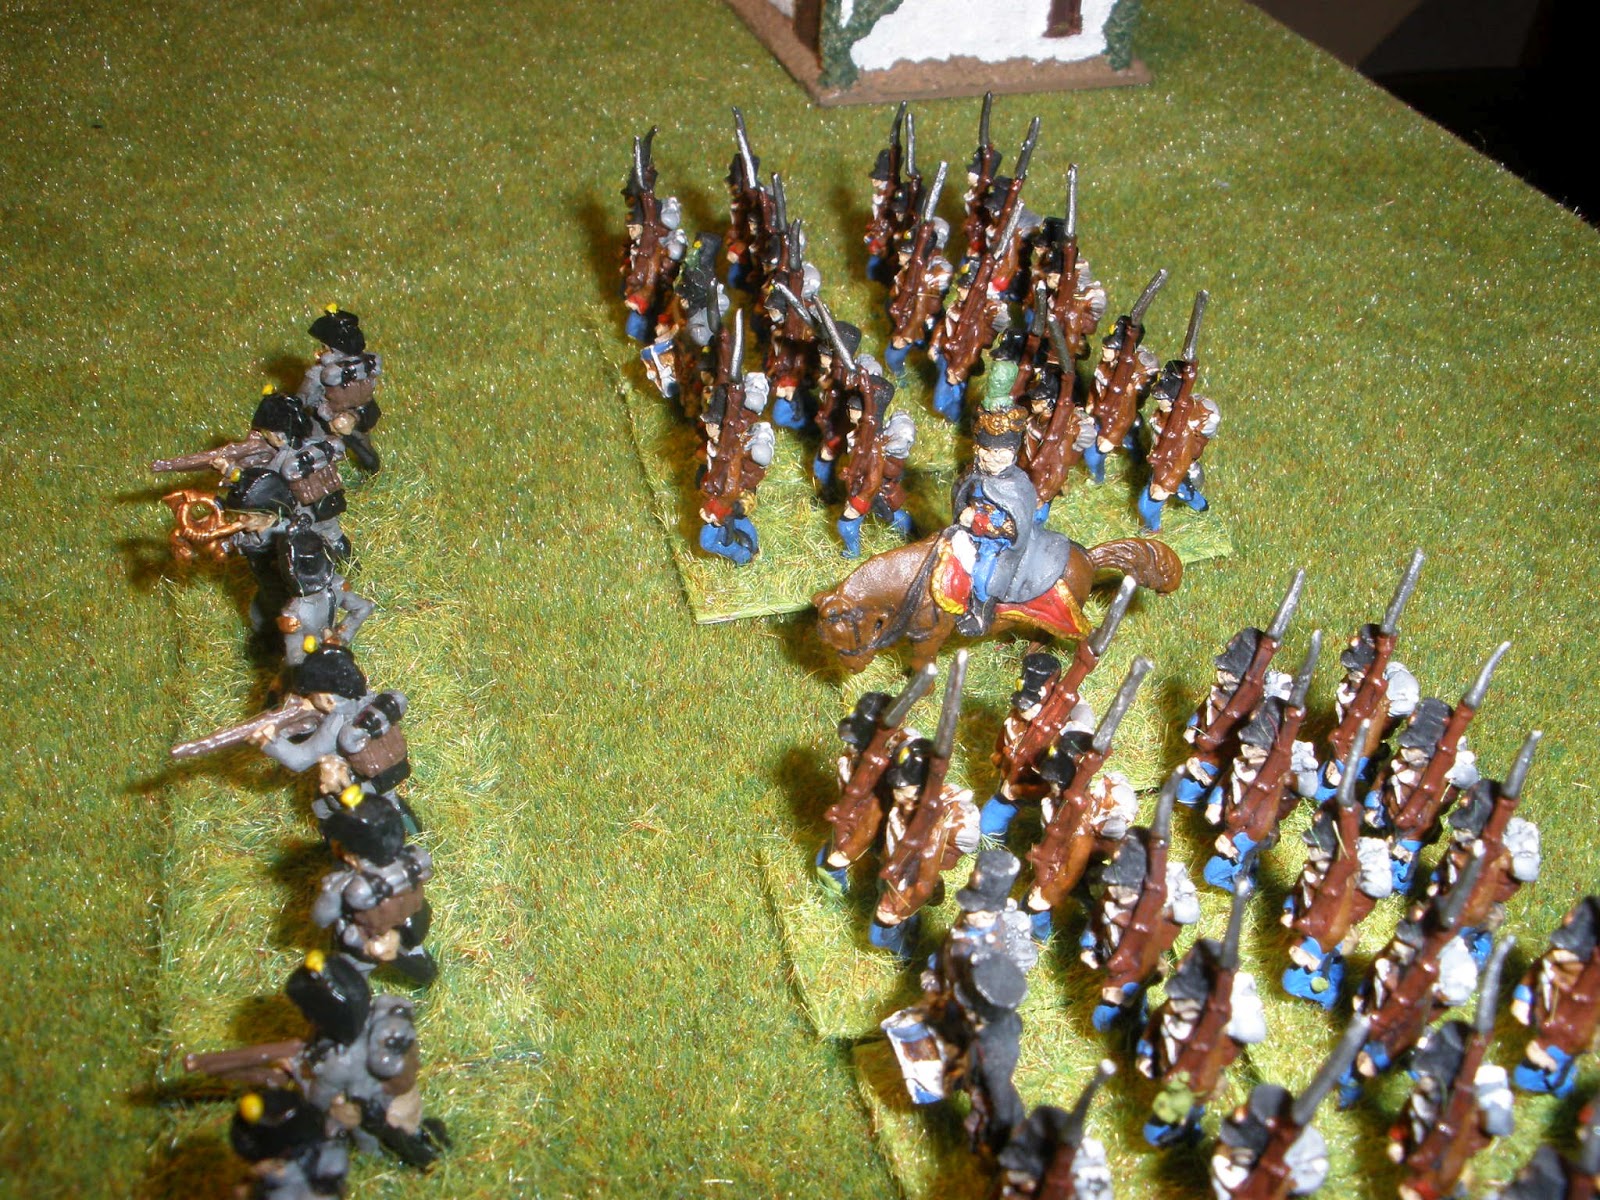
GM Kayser and his 6 battalion Brigade has the French at a disadvantage!
The Austrian Skirmishers spot light French voltigeurs in the distance.

The Austrians manage to seize the hill on the French side of the table and inflict casualties with close range musketry

The French counter attack routing the poorly trained Austrian Skirmishers.
The Elite 57th Ligne Regiment (Le Terrible ) arrives.

The battalions on the ridge continue to exchange fire while the Austrian Brigade commander desperately tries to bring the rest of his command up in support.

GM Pfanzelter with his Grenz and rifle armed Jagers arrives.

The 57ths Voltigeurs move quickly through the woods and pin the 1st battalion IR#56 before it can out flank the ridge. Most of the other Austrian Battalions have found themselves in Column and finding it difficult to form line so close to the enemy.
The Veteran 10th Legre arrives.
The musketry duals breakout all up and down the line. In the distance the Austrian 6 pdr gun opens up.
Most battalions are now so worn they are incapable of advancing.

Prince Liechtenstein brings three battalions of the IR#12 as reinforcement.
One Battalion of the IR#56 finally withdraws from the fight. The three markers say its Demoralised, Shaken and Disordered.

The mounting casualties become too much for the 3rd Ligne's Voltigeurs and 3rd battalion. Both of them break and run.

GM Pfanzelter throws a blunder taking his Grenz North when they were desperately needed in the southern forest.
Isolated on the hill, the 3rd Battalion IR#56 regiment finally breaks after being charged front and flank.

Both sides have brought in fresh troops and continue to exchange volleys. But unfortunately neither can gain enough local ascendancy any where to break their opponents line. Though the Austrians have found themselves pushed back now to the centre of the field.
The 3rd Battalion 10th Legere attempts to cross the plowed field and assault the Austrian 6pndr.


The 1st Battalion IR#56 is charged and breaks after substaining many casualties.

The battle hangs in the balance with Austrians having a slight numerical advantage.

GM Pfanzelter blunders again taking one of his Grenz battalions east when they are needed to support their comrades in the forest. It has just been noted GM Pfanzelter was the commander of the Austrian light cavalry Brigade that was so badly handled last game as well!

The guns manage to chase off lurking Voltigeurs in the north woods.

Unfortunately musket fire forces the crew to abandon the gun and retreat.
Down south the Grenz are able to clear the Voltigeurs from the woods.

Terrible close range fire fights were the order of the day.

After taking casualties on every part of the field the 1st of IR#7 suddenly breaks from harassing fire.

The 3rd of IR#7 also breaks and the 2nd of IR#7 withdraws shaken and disordered.

Suddenly Kaysers whole brigade gives way and flees the field. They had taken on the brunt of the fighting for the Austrians since the first turn. Failure to relieve them has resulted in them reaching break point.

FML Saint-Julien moves up in support with the IR#23 Regiment. But it may be too little too late.

Now one of the Grenz Battalions breaks in the south woods. Things are looking bad for the White Peril!

But still the French can't break through in the south woods. Their right flank Battalion halted by massed fire.

Revenge in the north flank as the newly arrived IR#23rd disperse the Voligeurs that broke the 1st of IR#7.


The second rate Grenz and their Jager companions have routed one of the Veteran 57th Regiment Battalions this leaves them in command of the southern woods for the moment.
The two fresh battalions of the IR#23 claim another French victim. In two turns the French have gone from having control of the Northern flank to  having it taken from them by the Austrians.

Unfortunately recent success on both flanks has been neutralised by a sudden set of breaks in the Austrian center.

And another central battalion breaks leaving Prince Liechtenstein facing the French horde alone.
The situation at 2:30 with the Austrian center now only being held by two batteries and the French 72 ligne regiment arriving as reinforcements. There is only time now for one more gambit by the Austrians.

Attacking with their two battalions from IR#23 on their right flank (north) they manage to break the Veteran 10th Leger Regiment!

The plucky but badly outnumbered Grenz and their Jagers are finally forced out of the southern woods.
The 1st battalion 3rd Ligne charge up the hill and take the battery. With this loss the Austrians concede.
Final situation with the defiant 2nd battalion IR#23 charged in the flank but still refusing to give ground!
Mention in dispatches for the 1st 3rd Ligne (normally 1st/6th Ligne). Only unit from the original set up still functioning at the end of the game. Also victorious in the last action of the game.

Sunday, 1 April 2012

1809 Delaying action

A small fictitious engagement set early in the 1809 campaign between an Austrian Avant-Garde Division spearheading its corps and a small French Infantry Division trying to delay them long enough for their Corps to escape.
Austrians: 3 Grenz Battalions (second rate), one Hungarian Battalion (second rate), 3 Large Infantry Battalions, a Uhlan Cavalry Regiment, a Hussar Regiment(Elite Moral) and a Horse Battery. The French: have 6 Line battalions, two combined units Skirmishers, one regiment of Chasseurs and an 8pndr battery. French must delay the Austrians from crossing the river for 9 turns to win.
Rules were  Black Powder with two pages of changes.
This is my first Battle report and I'm interested to see have it comes out.
    The Austrian General is on the left and the crossing he needs is on the bottom RHS. He has concentrated his cavalry on his left flank and the Grenz and Hungarian Battalions on the right flank preparing to use the woods to mask their advance.
The French 1st Brigade form up near the river, the voltigeurs are preparing to enter the woods.. The General and some of his troops are Essex figures celebrating their twentieth birthday this year.

The French General Division sets up beside his Battery on the dominate hill. The Austrians barely visible in the gloom.
A careless order to advance given to the Austrian Cavalry Brigade resulted in them tearing across the battlefield leaving the Uhlans just short of a French Battalion but without a charge order. Their Hussar comrades have meanwhile travelled even further down behind the French right flank.
Alarmed French Grenadier company sees a thousand Austrian Cavalry suddenly appear right next to them!
The large German Line Battalions advance in the centre preceded by Grenz Skirmishers. A staff mix up has left one battalion behind leaving a dangerous gap in the centre.
The Austrians after turn one. In the far distance can be seen the Horse artillery heading the wrong way. Yes they rolled a blunder first time!

The French react to the sudden cavalry flanking move. The right flank Battalion forms square as the artillery and another one swing round. The fire they are able to concentrrate on the Uhlans causes them to become both disordered and shaken  and in the following break test they retreat Demoralised. (Demoralised is one of my additions to the rules.)

Meanwhile the French Chasseurs start to move up in support. But not very quickly, I think they must be a bit nervous about being squished between lancers and Hussars.
                                 The left flank voltigeurs have managed to ambush some Grenz.
    The Hungarians muscle their way past the Grenz and charge the French Skirmishers who run away.

The Austrian Hussars now become stricken with indecision as their Uhlan comrades run off.
The lone French Voltigeurs in the centre taking casualties but are causing the Austrians a headache.
The Hussars have become shaken by the casualties taken from the 8 pndrs and the near by square. This flank has gone from a strong one for the Austrians to a disaster in the making.

Frustrated, the Grenz charge the annoying French Voltigeurs. The French prove to be tough fighters and the Grenz become the first unit to rout off the table.
Meanwhile the other Voltigeur unit comes running out of the woods with the Austrians close behind. Note drummer disorder marker.

The Hussars can't take the mounting casualties any longer and rout from the table. 
                                             The Hungarians begin to emerge from the woods.

                                    At last the Austrians have cleared the Voligeurs away from the centre.

The Uhlans while trying to rally come under Artillery fire and break! In the back ground the Horse artillery is finally arriving.
The Horse gun is probably the Austrian only hope of holding this flank and therefore winning the battle. If they can halt the French Cavalry then the larger Austrian infantry battalions have a chance to break through.
                               The Austrian pressure is mounting and so are the French casualties.
But in one disastrous turn the Austrian Horse Artillery is over run and their centre battalion is shot away by a freakishly effective French Volley. With their left wing now completely open and the push in the centre slowed it is obviously no longer a chance for Austrian success.   This battle was lost in the first 5 mins. First the lazy command to the Cavalry that left them trying extract themselves under canister fire. Then the unfortunate blunder by the Horse Artillery that kept them out of the fight for so long. That said the two Voltigeur units performed a fantastic job holding up the infantry advance.