Historical background.
Davouts III Corps is isolated and attempting to rejoin the rest of the French army. His troops are intercepted on the march by the Corps of FML Hohenzollern of the Main Austrian army. Nearby was the Austrian Army Commander Archduke Charles. Unfortunately he didn't seem to take any action to reinforce Hohenzollern until after the battle was lost.
Overview with the French held Teugen at the top and Hausen held by Austria at the bottom. The table is running west to east with woods on the southern and northern flanks.
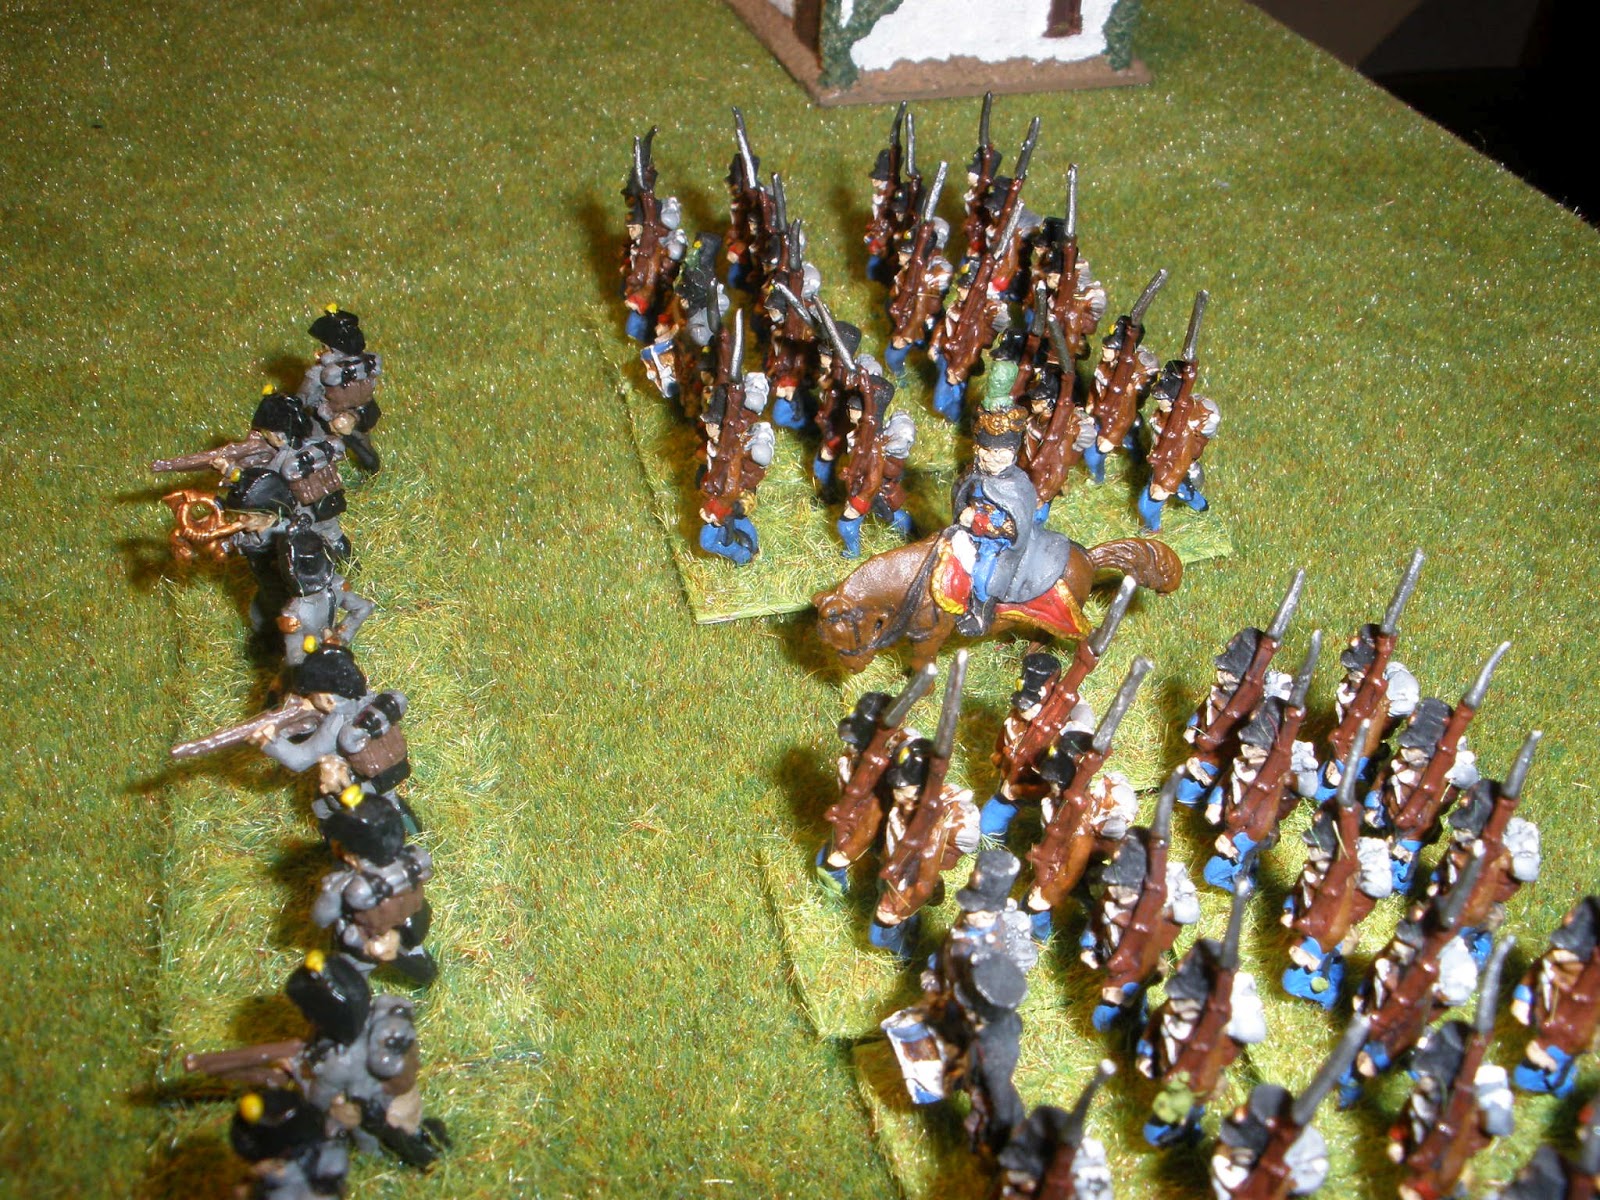
The French 3rd Ligne with 3 battalions and Marshall Davout commanding.
GM Kayser and his 6 battalion Brigade has the French at a disadvantage!
The Austrian Skirmishers spot light French voltigeurs in the distance.
The Austrians manage to seize the hill on the French side of the table and inflict casualties with close range musketry
The French counter attack routing the poorly trained Austrian Skirmishers.
The Elite 57th Ligne Regiment (Le Terrible ) arrives.
The battalions on the ridge continue to exchange fire while the Austrian Brigade commander desperately tries to bring the rest of his command up in support.
GM Pfanzelter with his Grenz and rifle armed Jagers arrives.
The 57ths Voltigeurs move quickly through the woods and pin the 1st battalion IR#56 before it can out flank the ridge. Most of the other Austrian Battalions have found themselves in Column and finding it difficult to form line so close to the enemy.
The Veteran 10th Legre arrives.
The musketry duals breakout all up and down the line. In the distance the Austrian 6 pdr gun opens up.
Most battalions are now so worn they are incapable of advancing.
Prince Liechtenstein brings three battalions of the IR#12 as reinforcement.
One Battalion of the IR#56 finally withdraws from the fight. The three markers say its Demoralised, Shaken and Disordered.
The mounting casualties become too much for the 3rd Ligne's Voltigeurs and 3rd battalion. Both of them break and run.
GM Pfanzelter throws a blunder taking his Grenz North when they were desperately needed in the southern forest.
Isolated on the hill, the 3rd Battalion IR#56 regiment finally breaks after being charged front and flank.
Both sides have brought in fresh troops and continue to exchange volleys. But unfortunately neither can gain enough local ascendancy any where to break their opponents line. Though the Austrians have found themselves pushed back now to the centre of the field.

The 3rd Battalion 10th Legere attempts to cross the plowed field and assault the Austrian 6pndr.
The 1st Battalion IR#56 is charged and breaks after substaining many casualties.
The battle hangs in the balance with Austrians having a slight numerical advantage.
GM Pfanzelter blunders again taking one of his Grenz battalions east when they are needed to support their comrades in the forest. It has just been noted GM Pfanzelter was the commander of the Austrian light cavalry Brigade that was so badly handled last game as well!
The guns manage to chase off lurking Voltigeurs in the north woods.
Unfortunately musket fire forces the crew to abandon the gun and retreat.
Down south the Grenz are able to clear the Voltigeurs from the woods.
Terrible close range fire fights were the order of the day.
After taking casualties on every part of the field the 1st of IR#7 suddenly breaks from harassing fire.
The 3rd of IR#7 also breaks and the 2nd of IR#7 withdraws shaken and disordered.
Suddenly Kaysers whole brigade gives way and flees the field. They had taken on the brunt of the fighting for the Austrians since the first turn. Failure to relieve them has resulted in them reaching break point.
FML Saint-Julien moves up in support with the IR#23 Regiment. But it may be too little too late.
Now one of the Grenz Battalions breaks in the south woods. Things are looking bad for the White Peril!
But still the French can't break through in the south woods. Their right flank Battalion halted by massed fire.
Revenge in the north flank as the newly arrived IR#23rd disperse the Voligeurs that broke the 1st of IR#7.
The second rate Grenz and their Jager companions have routed one of the Veteran 57th Regiment Battalions this leaves them in command of the southern woods for the moment.
The two fresh battalions of the IR#23 claim another French victim. In two turns the French have gone from having control of the Northern flank to having it taken from them by the Austrians.
Unfortunately recent success on both flanks has been neutralised by a sudden set of breaks in the Austrian center.
And another central battalion breaks leaving Prince Liechtenstein facing the French horde alone.
The situation at 2:30 with the Austrian center now only being held by two batteries and the French 72 ligne regiment arriving as reinforcements. There is only time now for one more gambit by the Austrians.
Attacking with their two battalions from IR#23 on their right flank (north) they manage to break the Veteran 10th Leger Regiment!
The plucky but badly outnumbered Grenz and their Jagers are finally forced out of the southern woods.
The 1st battalion 3rd Ligne charge up the hill and take the battery. With this loss the Austrians concede.
Final situation with the defiant 2nd battalion IR#23 charged in the flank but still refusing to give ground!
Mention in dispatches for the 1st 3rd Ligne (normally 1st/6th Ligne). Only unit from the original set up still functioning at the end of the game. Also victorious in the last action of the game.